
Your first fuse bead project
Perler Bead Patterns for Beginners
Start with a small solid shape, a few colors and one pegboard. These six patterns include counted materials and printable charts, so you can spend your time placing beads instead of guessing the grid.
Choose by the skill you want to practice
- Little Heart: the easiest starting point. One color and short rows let you focus on placement.
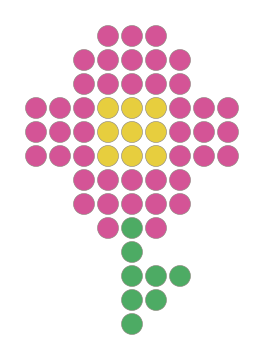
- Pink Flower: practice changing colors across three connected areas.
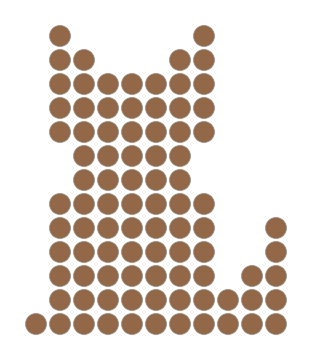
- Golden Star or Sitting Cat: practice counting the stepped edge and empty spaces.
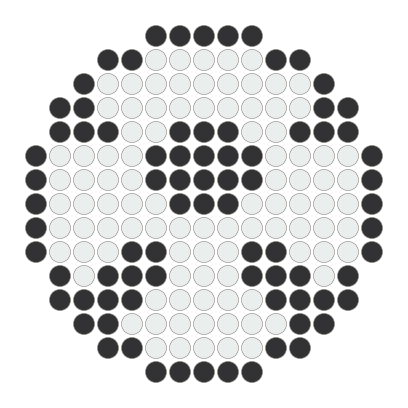
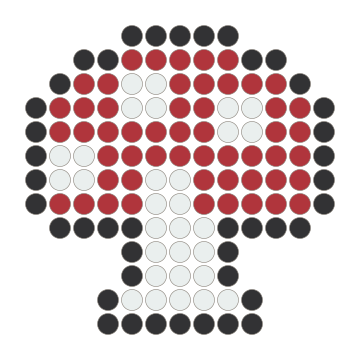
- Spotted Mushroom or Soccer Ball: try small patches and white beads inside a dark outline.


Gather supplies before you start
These patterns use 5 mm Perler Midi beads and a square board with 29 pegs on each side. Mini beads use a different peg spacing; do not mix bead sizes. Each pattern page lists exact quantities. Keep a few spare beads nearby in case one rolls away.
You also need bead ironing paper and an iron. Tweezers are optional. An adult should handle the hot iron and supervise young makers; follow the bead packaging’s age and safety guidance.
Read the chart without filling the background
The PDF shows the entire 29 × 29 board. Row numbers run down the left and columns across the top. A numbered cell means one bead in that color. A blank cell means an empty peg. White beads have a number too, so you can distinguish them from the background.
Place a row, check its length and then move to the next. After placing the last bead, compare the silhouette and color patches with the preview. The total counts include only occupied pegs.
Finish and customize
Follow the manufacturer’s ironing instructions rather than a universal temperature. Use ironing paper, let an adult handle the iron and allow the design to cool before removing it. Our ironing guide covers the preparation and cooling steps.
Once you have made the original, use “Edit this pattern” on its page to try a different color or outline. Start from the same counted grid. For your own image, use the Perler bead pattern maker.